Disclaimer: I'm NOT a professional; these are my opinions and my opinions only and based on my own experiences in model photography. I am NOT a professional writer, these written format pieces are meant for purely and primarily shared knowledge from my experiences as a model photographer. It is not my intent to have a perfectly written article, if you don't like my writing please report this article to the nearest college to make corrects (or yourselves) and send those corrections at Chris@ChrisAdval.com and I'll make those changes if they do not interfere with the content. My focus is to give the content as soon as possible by any means instead of not giving the content at all (tips). Again I am not a great writer but I get my points across. The following tips are NOT meant for everyone for every situation, take the tips that you know that would work for YOU and anyway you choose. This is only a guide of tips, not strict rules that every or all persons should follow, these tips are meant for serious, business aware and pro-efficient people.
This article is a continuation from the "What Makes or Breaks a Model’s Success?" articles.
This is PART 4 - Photography Knowledge and Artistic Eye to make a good and educated judgment of yourself in the work you’ve helped create.
This is important because at first when starting out you will not have an idea of what good, bad, amazing, or the like in the quality differences in model photography or photography in general. I would give you examples, but that would cause copyright infringement if I'm not using my own work and right now I only have high quality work online except work I helped create when I first started out with my friends.
VS.
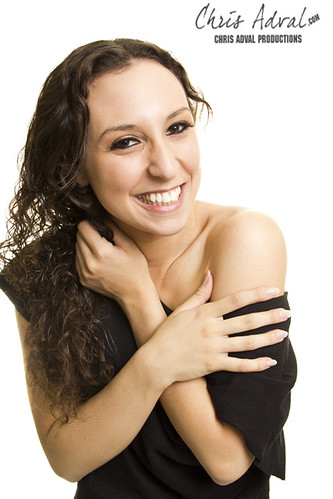
Now I'm not talking about the model's at all, but I'm talking about the quality of the photography itself. The one on the left looks a lot less professional quality than the photo on the right. The one on the right is an actual background support system I used, but as to the one on the left was just a bed sheet. Which may help when you go to a studio you could observe your surroundings and see what you may get from the end results from the shoot (most of the time). Some photographers can be very talented and use the cheapest DIY (Do-it-Yourself) equipment and still get amazing quality photos. Just use the photos above to compare/contrast and learn the differences of lower quality photos vs. high quality photos. And no I'm not saying my photo on the right is perfect but its a lot higher quality level than on the left. You can get a lot more examples online from many MM portfolios that have uncropped/poorly cropped photos that show very unprofessional setups/photos.
It is extremely important to know what is high quality and low quality, and when you understand and know this you can create fantastic photos in your career in modeling and in your portfolios. A good way to start on getting your artistic eye more developed is to critically observe many, many, many model photography photos and many different styles, scenes, concepts, lighting, poses, composition/composing, and the like.
When you fully understand high and low quality photography you can also know when to work or not work with certain model photographers, especially when your time is very limited.
Like this article? Did you learn anything, want more? Check out related articles in the following blog series articles... Photographer to Model Tips and Models and Photographers Tips


No comments:
Post a Comment